Posted on by Meghan Gerrity

DIY Beehive Take One

I’m going to a wedding with the hubby tonight and needed an updo that wouldn’t move in today’s brisk winds. I was inspired by the beehive that I got earlier in the week and used this amazing tutorial by Johnny Lavoy on how to create a 60s bouffant in minutes. It really worked.  After I dried my hair, it literally took 5 minutes to create and it’s lasted all day. Johnny’s tutorial is the easiest I’ve found (after hours of searching) and it’s really doable by yourself.

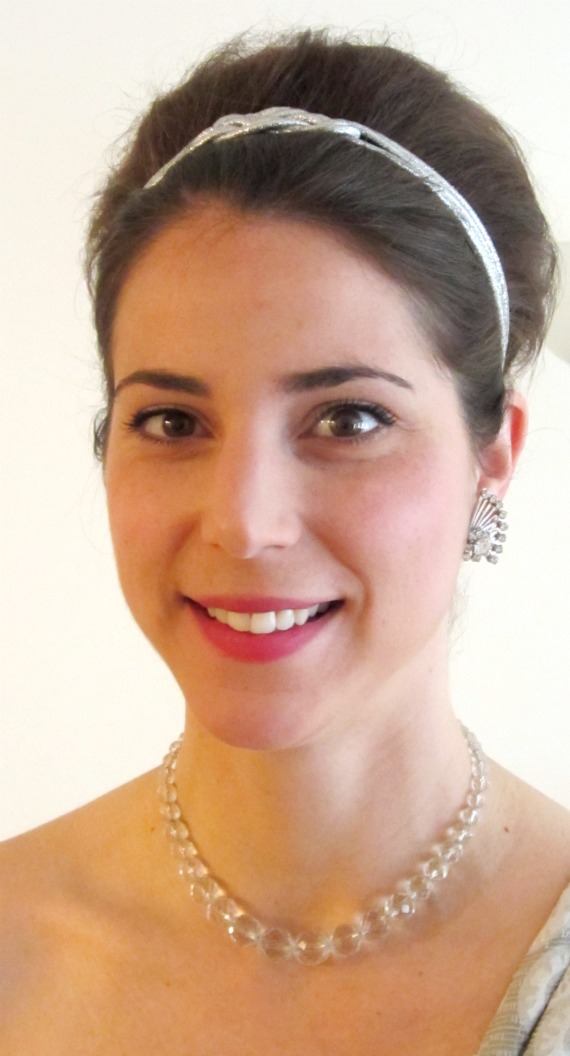
DIY Beehive Front View

I added a little glam to my look by adding a silver headband I picked up at Harmon’s for $2 (Side-note – you can use your Bed Bath and Beyond coupons at Harmon’s Face Values and you can use one coupon for each item you purchase. Saved me a bundle!). They had tons to choose from. Another option would be to make a DIY headband from sparkly trim as seen in this TheBeautyDepartment.com post.
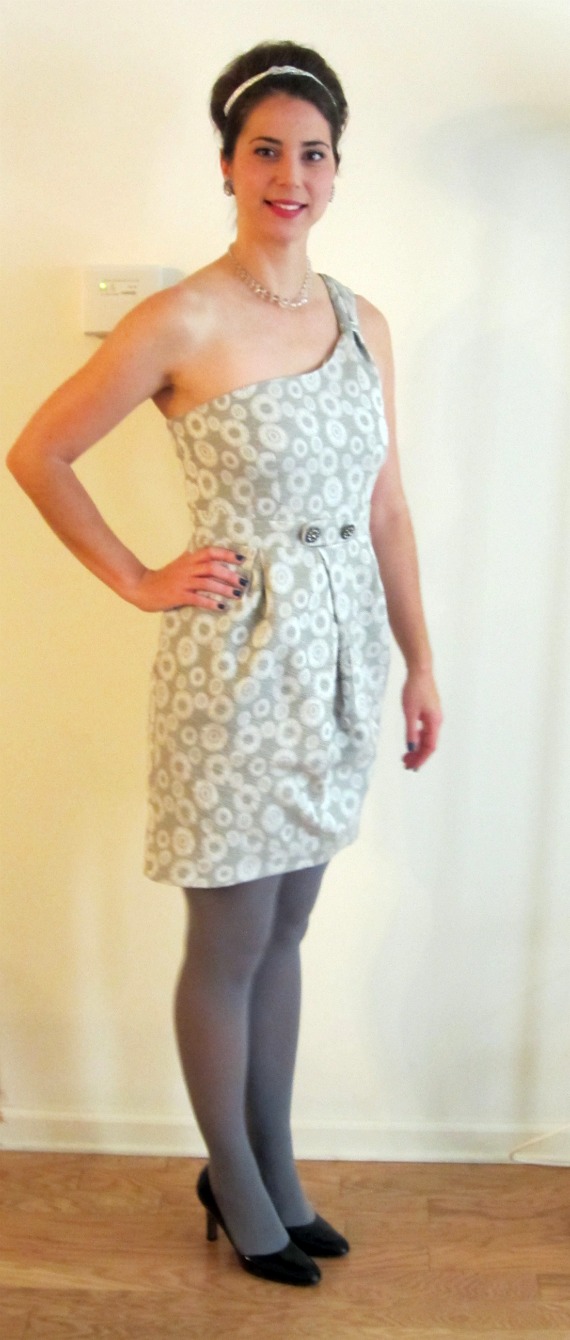
Vintage heels (40s from Etsy), earrings (60s from Nana) and necklace (20s from my great-Nana). Dress is Anthropologie circa 2008 and tights are DKNY.

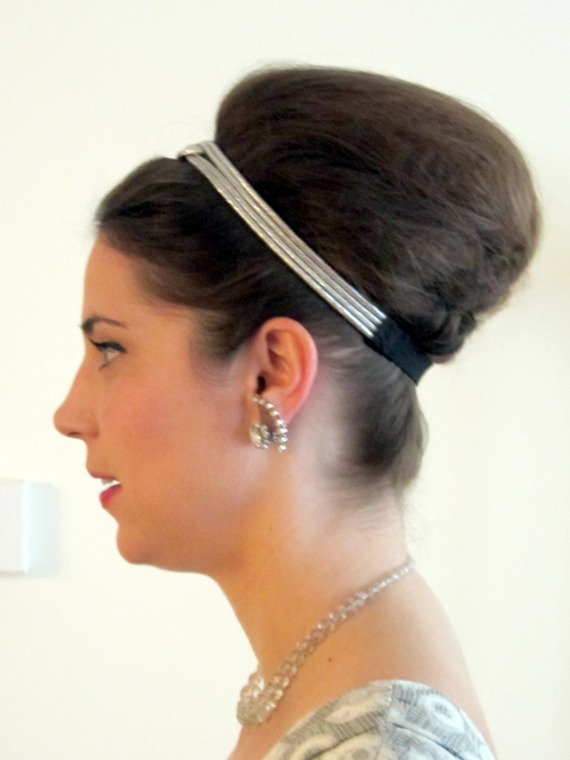
To get the look, I blow dried my hair until it was completely dry. Then I sectioned my hair like the tutorial. I made a high pony out of the back half of my hair, and made that into the base of the hairstyle by teasing it with a boar bristle brush and pinning it into place. Lastly I went crazy teasing with the boar bristle brush (from Harmon’s) on the front half of my hair and pinned it back against the base to create height and shape it the way I wanted.  I left it a little messy, but did brush the front slightly smooth so there weren’t any fly aways.

Side profile showing height and shape of DIY Beehive...buzzz.....

I would definitely recommend the video tutorial to anyone looking for a quick and easy way to get glam for the night.  I’ve been getting so many compliments in the store today, so I think my first DIY try was a success!  If you do try the beehive yourself, definitely share your pics on our facebook page here. We’d love to see how it worked for you! Sorry my pics are fuzzy, I think the 7am photoshoot was a little to early for my hubby this morning :)

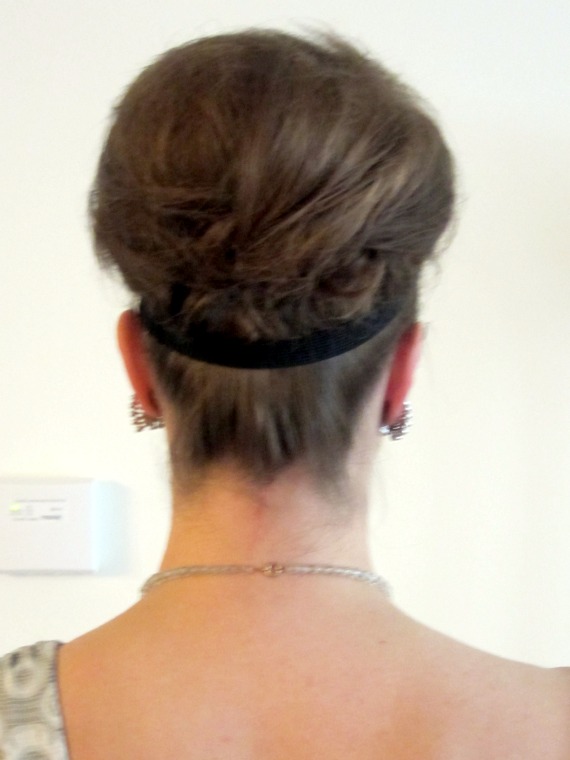
View from the back. Messy but polished.

XOXO


Posted on by Meghan Gerrity

60′s Beehive Updo Made Easy

It’s no secret that I am obsessed with Betty Draper and Joan Holloway from Mad Men on AMC. They are such strong, sexy women with incredible fashion sense and glam hair. I have been stuck in a rut with my hair for years. It’s super straight and ultra fine which = EXTREMELY BORING! I’ve always wanted to add the beehive look to my arsenal, but thought it would be too hard to pull off for the novice. I finally learned otherwise this past Wednesday night.

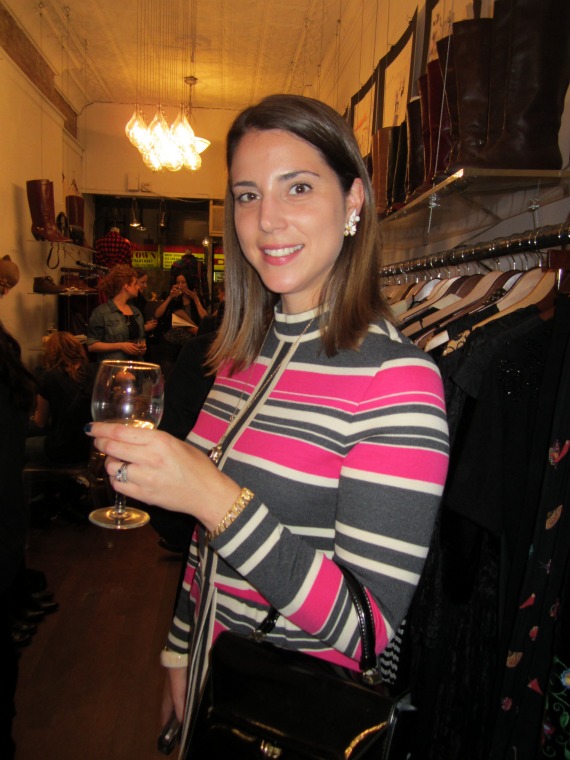
Meghan before with sad flat hair :(

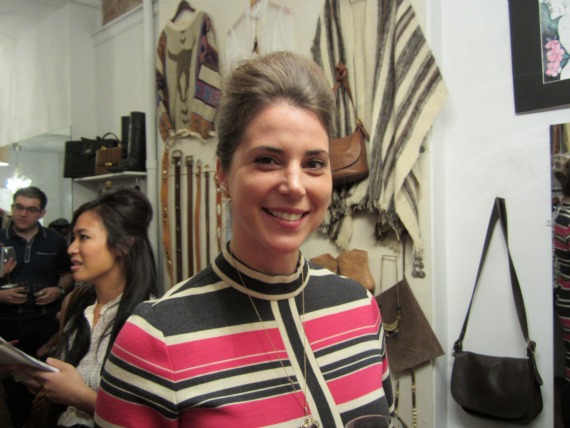
My friend Maria and I were lucky enough to go to A Little Wicked‘s blogger event where the darling Siobhan from Wonderland Beauty Parlor was dolling out fab retro ‘dos to the ladies and gents in attendance.  I told her to do whatever she wanted and I cam out with this ultra mod 60′s beehive / bouffant!  After a few seconds of shock after seeing my hair actually have volume, I fell in love with the look and am going to try and replicate it for a wedding I have this weekend (pics to follow on Monday).

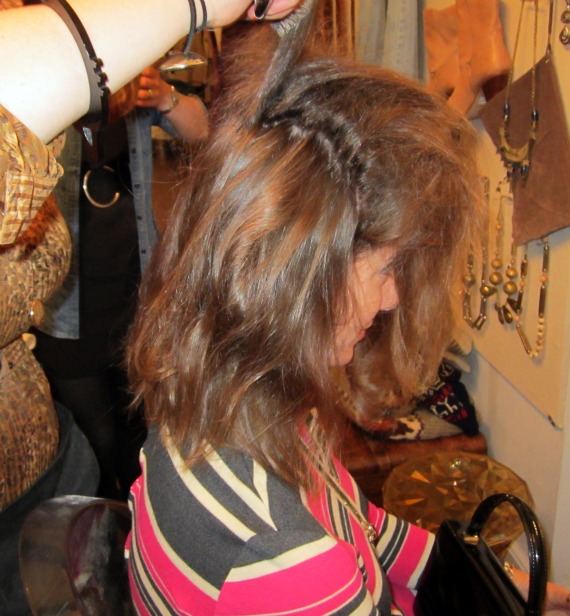
Who knew getting teased could be so fun!

Siobhan used a brush like this to backcomb my locks and give them super volume.  When I’ve tried using a rat tail comb, it always took forever, so I was delighted to find out that it takes no time to tease your hair with the brush.

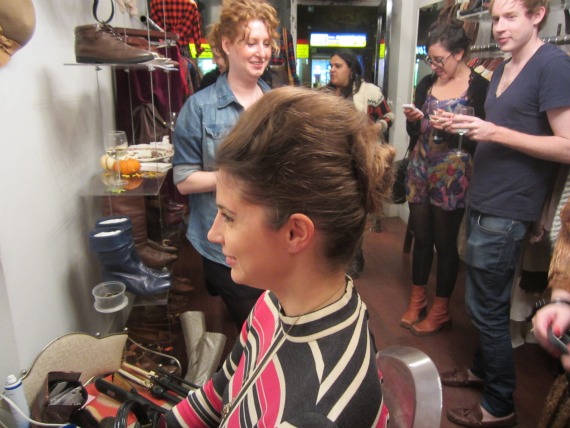
Perfecting the bun

She put the bulk of my hair in a bun and styled the top half (from my ears forward) really high and pinned the pieces around the bun.  She did the whole look in minutes which was so impressive and really inspired me to start creating looks like this on myself. See you later limp locks!

To get this look be sure to have the following:

Ponytail Holder – to create the bun which serves as the base of the style

Aerosol Hair Spray – spray each section after teasing as well as the final look to keep it secure all night long

Bobby Pins - you’ll need pins to hold the style itself and pins to put the stray pieces in place

Eat your heart out Don Draper!

Enjoy!